How to Make an AI Short Film
You can shoot a short film this weekend with no camera, no crew, and no location budget. This is the fast path: the whole pipeline on one platform, from a one-page script to a finished, graded cut, using the tools that keep your characters and your look from falling apart.

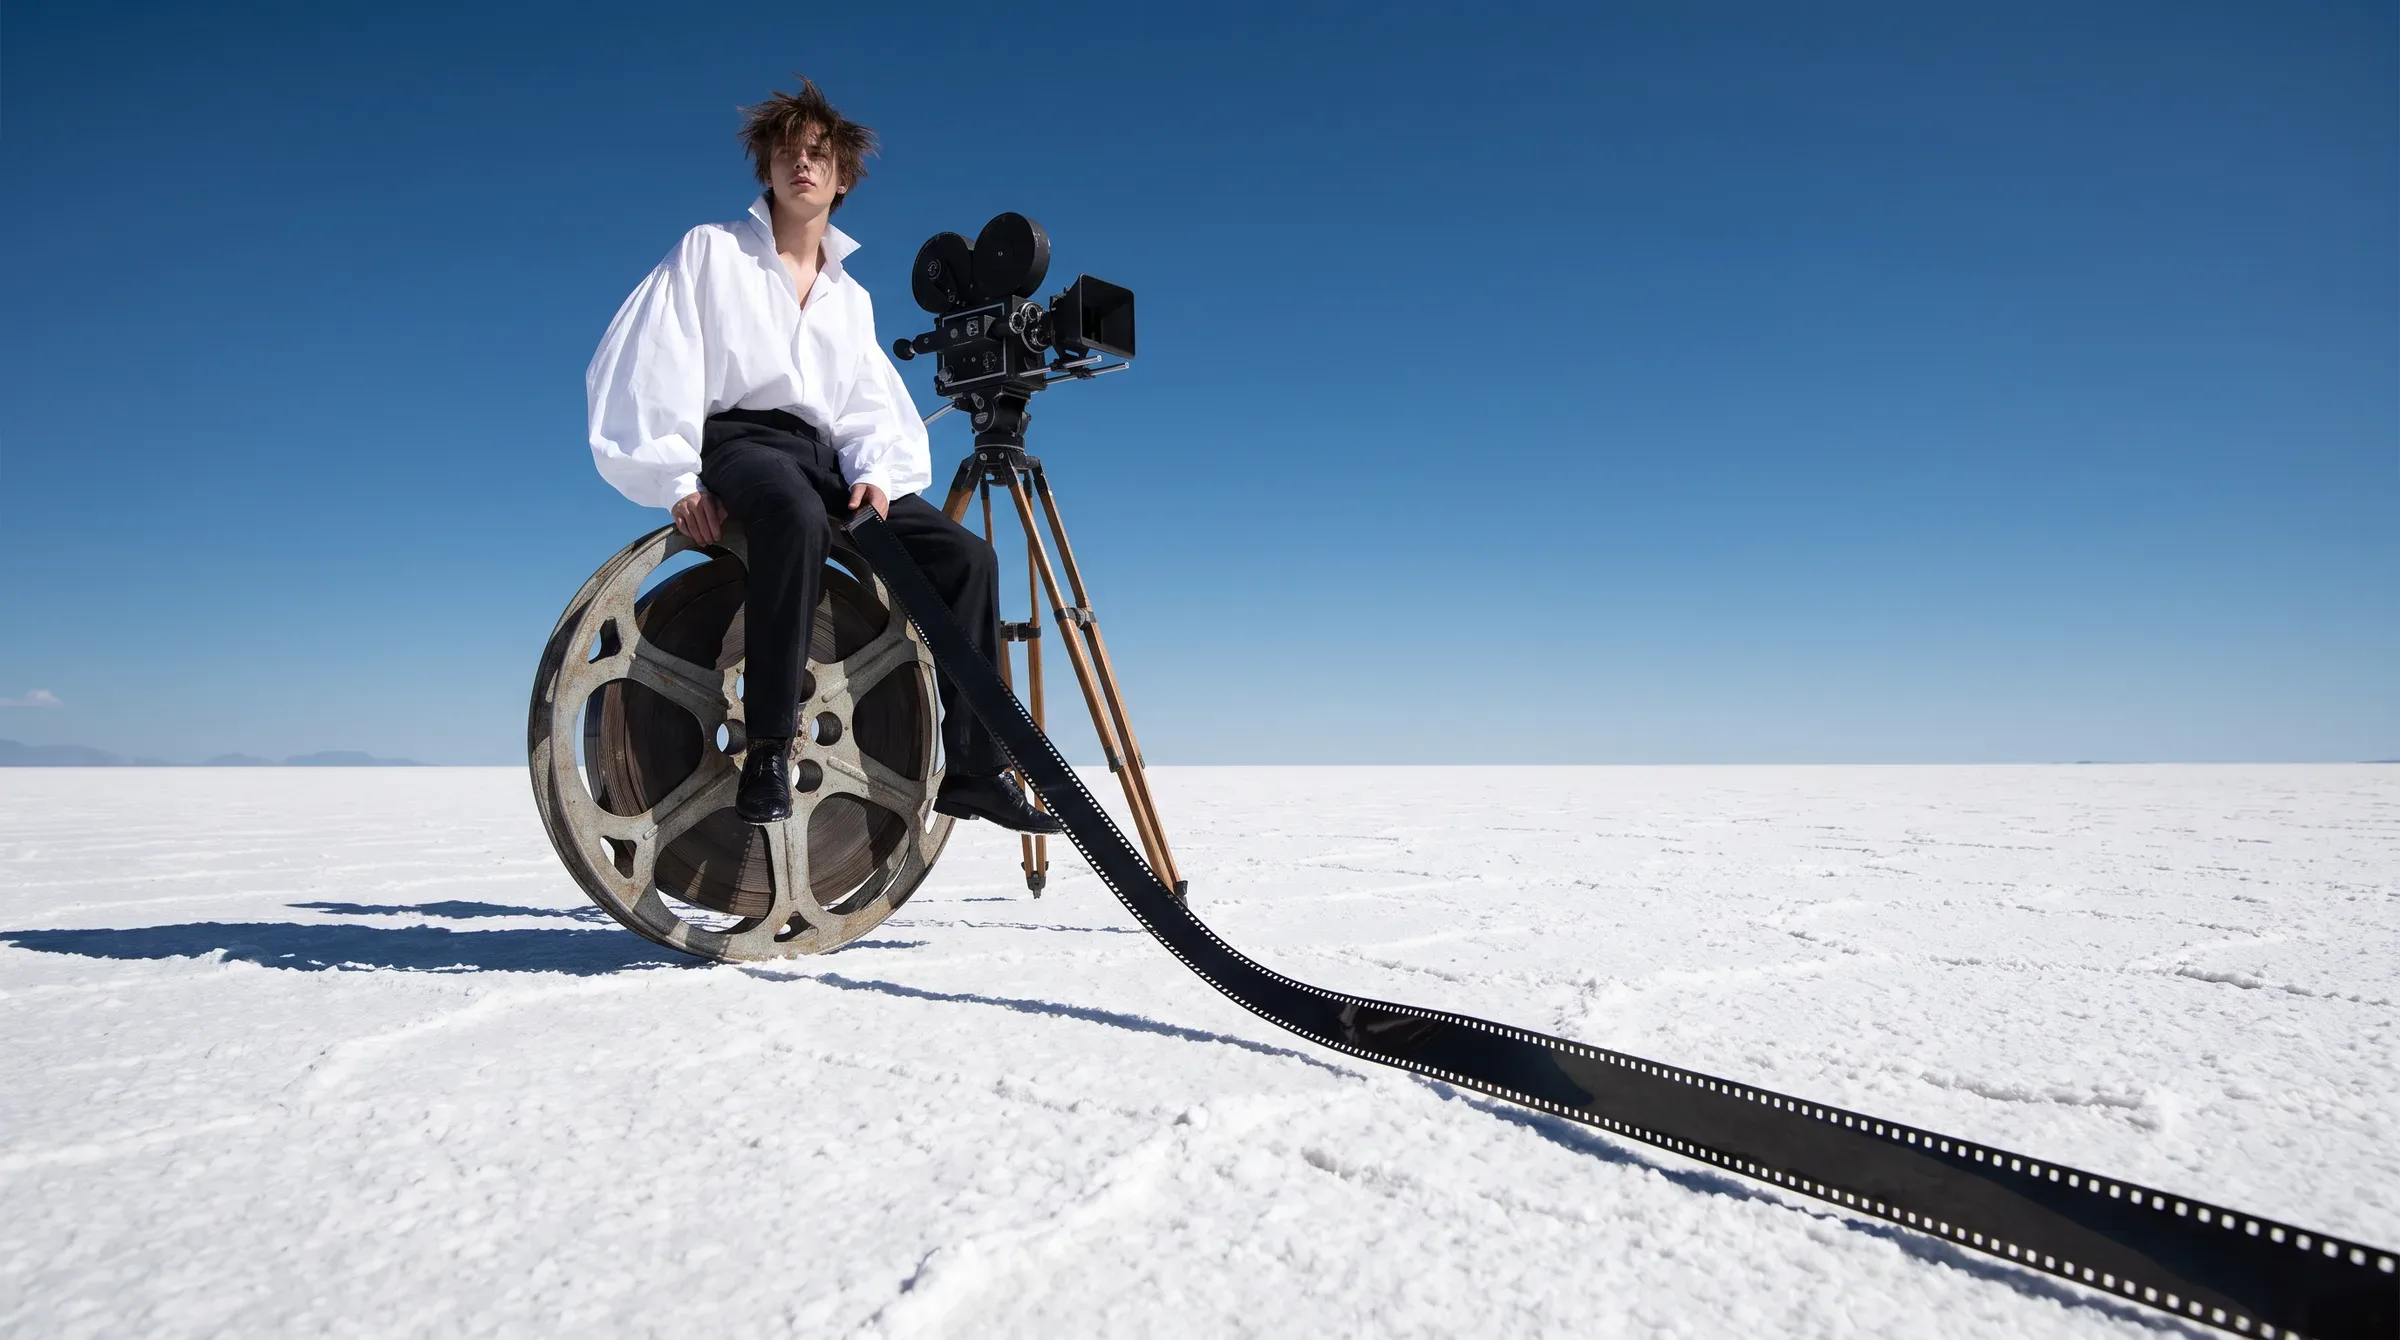
The hardest thing about an AI short film is not generating a nice shot. It is getting the same face, the same world, and the same look to hold across every shot, then cutting it into something that feels like a film instead of a reel of clips. The best-in-class, model-by-model way to do that is a real stack, and we laid the whole thing out in our pillar. This guide is the shortcut: the same pipeline, simplified onto one platform, so you finish your first film instead of drowning in five subscriptions.
The full stack, versus the fast path
There are two honest ways to make an AI film. The first is to assemble best-in-class tools layer by layer, an LLM for the script, one model for stills, another for video, another for voice, another for sound, and stitch them together. That is the route to maximum quality, and we cover it in full in our complete guide to AI filmmaking.
The second is to run the whole pipeline on one platform. You give up a little best-in-class polish at each step and you get back speed, a single workflow, and one bill. For a first film, that trade is worth it every time, because a finished rough film teaches you more than a perfect shot you never cut together.
This guide takes the fast path, and it uses Higgsfield to do it, for three plain reasons. It carries the entire pipeline, storyboard, character consistency, cinematic shots, and audio, under one account and one credit balance. It is the cheapest way to reach that many premium models, and a single model can run effectively unlimited on a plan. And its tools are built around real directing controls rather than a bare prompt box. If you would rather pick each engine yourself, the pillar above is your map. If you want to finish something this weekend, start here.
Higgsfield is not the only studio that can run this pipeline. OpenArt Director, ImagineArt's Film Studio and LTX Studio each cover most of it, and we compare them all in the best AI filmmaking platforms.
The pipeline in one view
Five stages, five tools, one account. Each stage feeds the next, which is the whole reason to keep it on one platform.
| Stage | Tool | What it does |
|---|---|---|
| 1. Write | An LLM | Script and shot list |
| 2. Lock characters | Soul ID | One consistent face across every shot |
| 3. Storyboard | Popcorn | Each scene as a consistent frame sequence |
| 4. Generate shots | Cinema Studio | Each frame animated with camera control |
| 5. Sound and cut | Seed Audio + editor | Score, voice, assembly, grade |
Step 1 — Write it small, and write it first
The single biggest predictor of whether you finish is the size of the idea. Pick a story you can tell in sixty to ninety seconds: one character, one location, one clear beat. A short, finished film beats an ambitious one you abandon in the edit.
Do all the writing before you open any generation tool. Use an LLM as your writers' room to turn a logline into a tight script, then break that script into a shot list, a plain line for each shot saying what we see and how the camera moves. This list is your build plan for the rest of the process.
- Lock the story. Premise, character, location, the one beat that matters.
- Lock the look in words. Era, palette, mood, lens feel. You will reuse this on every shot.
- Lock the shot list. Ten to twenty shots for a ninety-second film, each with framing and movement.
Step 2 — Lock your character with Soul ID
The thing that ruins amateur AI films is a face that changes between shots. Soul ID solves it by training a consistent identity for a character before you generate a single shot. You feed it a set of reference images of the character from different angles and lighting, and it holds that same face across the whole film.
Do this for every character who appears more than once. It is ten minutes of setup that saves the entire project, because no amount of clever prompting fixes a protagonist who looks like three different people across three scenes.
- Gather strong references. Twenty or more images per character, varied angles, varied light, consistent identity.
- Train before you generate. Set up every recurring character first, so every later step can call the same locked face.
- Name them clearly. You will reference these identities through the storyboard and shot stages.
Step 3 — Storyboard each scene with Popcorn
Popcorn is where directing starts to feel like directing. Instead of generating shots one at a time and hoping they match, you generate a whole scene as a coherent sequence of four, six, or eight frames, with the character, lighting, and atmosphere held consistent across every panel. It is a storyboard that already looks like your film.
Feed it your trained character alongside a reference for the location, and describe the scene. You get the blocking, the character's position, and the spatial logic of the scene locked before any video is generated, which is exactly the planning that makes the finished shots cut together.
- Auto mode expands one prompt into a full sequence, fast coverage for straightforward scenes.
- Manual mode lets you direct each frame when a specific beat has to land exactly.
- Work scene by scene, so each sequence stays internally consistent before you animate it.
Step 4 — Generate the shots in Cinema Studio
Now each storyboard frame becomes a moving shot. Cinema Studio is built around the controls a director of photography actually uses, so you are not prompting into a void. You set the genre, the lighting, the color palette, the camera movement, and the lens, focal length, and aperture, for each shot, rather than leaving them on auto and accepting what comes back.
This is where your written look pays off. Apply the same palette and era across every shot so the film reads as one world, and direct the camera deliberately: a slow push-in for tension, a locked-off frame for stillness, an orbit for energy. Generate several takes per shot and keep only the cleanest motion.
- Direct the camera, do not accept it. Name the move, the lens, and the light on every shot.
- Hold the look constant. Same palette and era across all shots is what makes them cut together.
- Generate many, select ruthlessly. The cost of another take is near zero, so take it.
Step 5 — Add sound, then cut and grade
A silent film looks like a tech demo; the same film with sound looks like cinema, and this is the step amateurs skip. Generate your score and sound design, add any voice or dialogue, and sync it to the shots. Then bring everything into an editor to assemble the shots for rhythm, trim for pace, and grade the whole film to one consistent color so the generated pieces read as a single world.
- Score and sound design. Music to the mood, plus ambience and effects. The ear believes the room.
- Cut for rhythm. Vary shot lengths, let moments breathe, kill anything that drags.
- Grade to one look. A single grade over the finished edit is the great equalizer that hides mismatched shots.
For the assembly and finishing tools, our guide to the best AI video editors covers what cuts, captions, and cleans up best.
The shortcut within the shortcut: the agent
Once you understand the manual steps, there is a faster lane. Higgsfield's Supercomputer is an agent layer that can take a brief and run several of these stages for you, routing the storyboard, shots, and audio with far less clicking. It is genuinely useful, but learn the manual pipeline first, because the agent makes directing decisions you will want to be able to override. Use it to move fast on the parts you already understand, not to skip understanding them.
Keeping it consistent, the one real skill
Everything above serves a single goal: consistency. It is the whole game in AI film, and the pipeline is designed around it. Soul ID holds the face. Popcorn holds the scene. A locked palette and a final grade hold the look. Get those three right and your film reads as one world, which is the difference between a short film and a pile of clips. Lose any of them and no individual shot can save it.
What it costs
This is where the one-platform route earns its place. Reaching this many premium models separately means several subscriptions; here it is one. Higgsfield's plans start at $9 a month on yearly billing and step up to the higher creator tiers, and a single model can run effectively unlimited on a plan, with the broadest, newest model access priced below stitching the equivalent tools together yourself.
- Start on a low tier to make your first film and learn the pipeline.
- Lean on the near-unlimited model for the heavy iteration that AI film demands.
- Step up only when volume needs it, not before.
Plans, tiers, and what unlimited covers change often, so check the current pricing before you commit to a tier.
To see what each model actually costs per clip on Higgsfield and every other studio, check the AI Price Index.
Never Buy the Wrong AI Tool Again
We test the AI tools worth your money and send you exclusive discounts on them, straight to your inbox.
Mistakes to avoid
- Starting an epic. Make a sixty-to-ninety-second film you can finish.
- Generating before writing. Script and shot list come first.
- Skipping Soul ID. A drifting face sinks the whole film.
- Prompting shots blind. Direct the camera, lens, and light every time.
- Leaving it silent. Sound is half the film.
- Skipping the grade. One color pass is what unifies the shots.
- Letting the agent direct before you can. Learn the manual steps first.
Making an AI short film: frequently asked questions
How long does it take to make an AI short film?
A focused sixty-to-ninety-second film is a weekend on one platform once you know the steps: an hour or two writing, character setup with Soul ID, storyboarding with Popcorn, a batch of shots in Cinema Studio, then sound and the edit. Your first will take longer; the fifth is fast.
How do I stop the character's face from changing between shots?
Train a consistent identity before you generate. Soul ID learns a character from a set of reference images and holds that same face across every shot, which is the single most important step for a film with recurring characters.
Do I need to be a filmmaker to do this?
It helps, but the pipeline does a lot of the heavy lifting. Story, shot choice, pacing, and sound are the skills that separate good from pretty, so study how films are directed and edited as you go. The tools lower the technical barrier, not the craft one.
Why use one platform instead of the best tool for each step?
Speed and focus. The best-in-class route gives slightly higher quality per layer but means juggling five tools and bills; a single platform keeps the whole pipeline and one credit balance in one place, so you finish. Once you have made a few films, mix in best-in-class tools where you want more control.
Is it really cheaper than using separate tools?
For this many premium models, yes. One platform that bundles storyboard, consistency, cinematic shots, and audio is cheaper than subscribing to a separate tool for each, and a single model can run effectively unlimited on a plan. Check current pricing, as tiers change often.
The verdict
The camera, the crew, and the budget are no longer the barrier. The barrier is finishing, and the way past it is a story small enough to complete and a pipeline simple enough to run in a weekend. Write it tomorrow, lock your character, storyboard it, direct the shots, score it, and cut. The first one will be rough. Make it anyway, because the second one is where it gets good.
What is the one scene you would make first? Start there, and build the film around the shot you most want to see.